
This section of the user guide is focused on Communication Opportunities Settings. To help you navigate the article we have broken it down into the following sections:
- What are the Communication Opportunities settings?
- Who has access to the Communication Opportunities settings?
- How do I update the Communication Opportunities settings?
What are the Communication Opportunities settings?
When the virtual assistant cannot provide a response to a virtual assistant user's question or input, it will respond with a Communication Opportunities response:
I’m not sure I understand your question. Do any of these suggestions help? If they don’t, you can ask me another question.
The virtual assistant will also ask if the virtual assistant user would like to contact the office. If the virtual assistant user selects yes, the virtual assistant will respond in one of two ways:
- Custom Response
- Contact Form
If the virtual assistant user selects no, the virtual assistant will remain available for additional questions.
The Custom Response setting is the default/global setting (i.e., the same across all virtual assistant offices) for the Communication Opportunities behavior for all new offices. It will remain the global Communication Opportunities behavior setting unless a Virtual Assistant-Administrative user updates the default/no office or office-specific Communication Opportunities behavior settings to Contact Form on the Behavior Settings page.
To update the office-specific Communication Opportunities settings for the virtual assistant, the office-specific URLs must be mapped on the URL Matching section of the Look & Feel page. For more information, review the Look & Feel: URL Matching article.

Changes can take anywhere from 15 minutes to an hour to take effect in the embedded virtual assistant.
Who has access to the Communication Opportunities settings?
The Behavior Settings page is available to individuals with the following permissions:

For more information on user permissions, review the User Roles & Permissions article.How do I update the Communication Opportunities settings?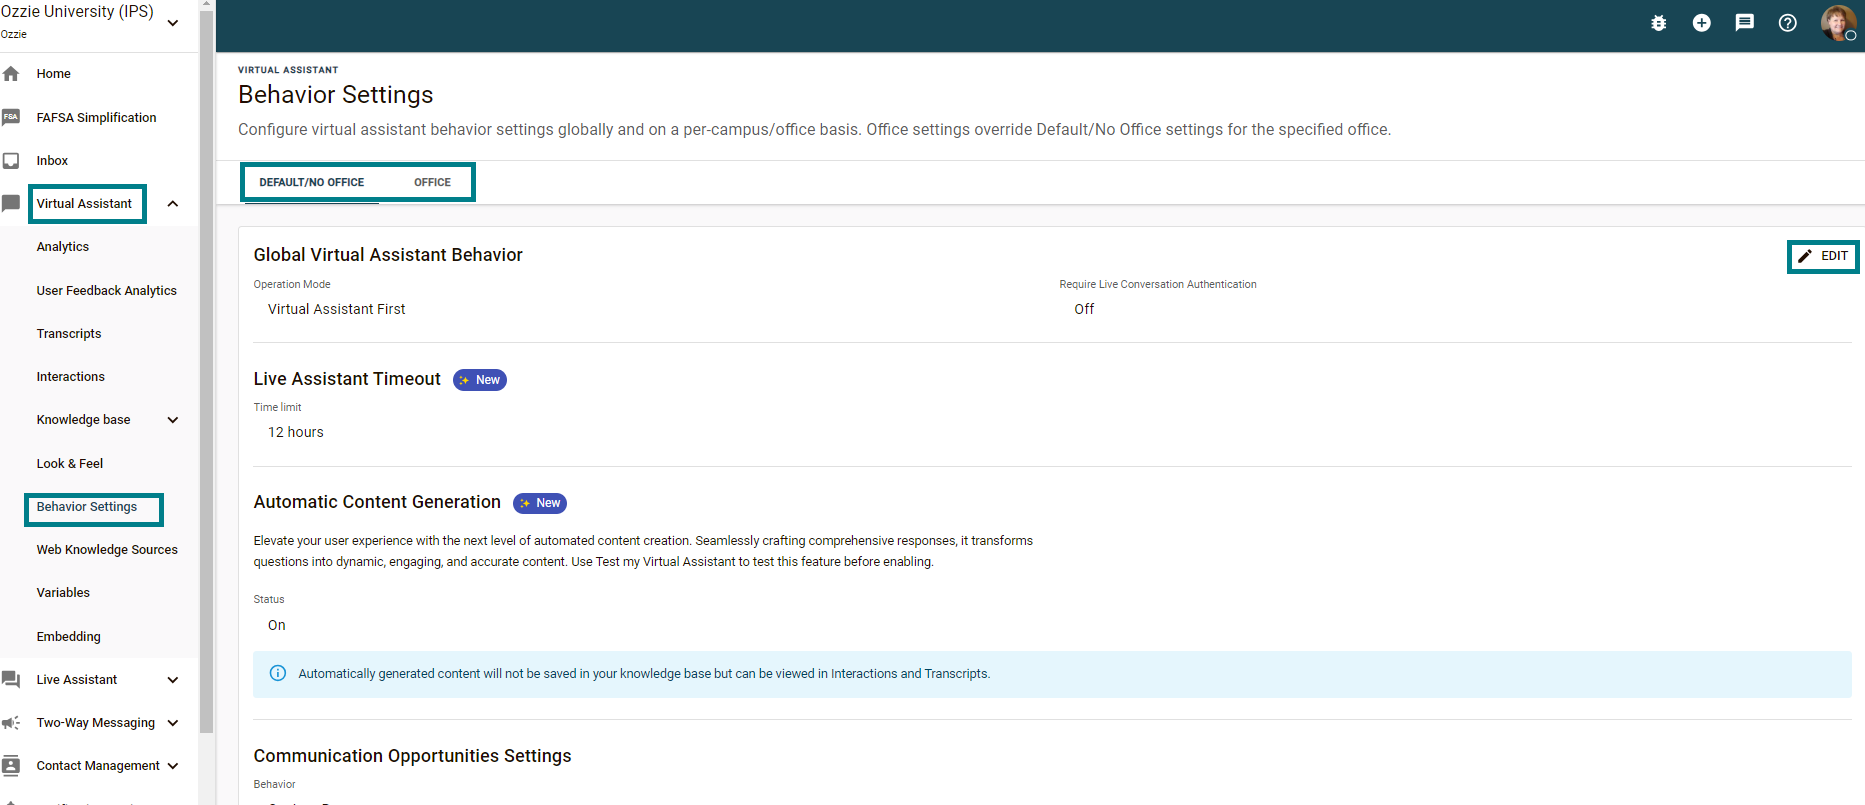
- To update the Communication Opportunities behavior settings, under the Virtual Assistant section, select Behavior Settings.
- The Communication Opportunities settings can be updated either Default/No Office (global) for all offices, or by office by selecting the Office tab.
*If the office does not update their office settings, it will automatically follow the default/no office settings. - Select the Edit icon.
*If updating the office setting, first select the dropdown next to the office you want to edit. - Under the Communication Opportunities Settings, From the Behavior dropdown, select either Custom Response or Contact Form.

- Custom Response
With the custom response setting, when the virtual assistant cannot provide a response to a virtual assistant user's question or input, it will respond with a Communication Opportunities response and ask if the virtual assistant user would like to contact the office.
If the virtual assistant user selects yes, the virtual assistant will list all of the offices for the school. The virtual assistant user will need to select the office they would like to contact.
The default Custom Response is to display the office contact information for the office selected.
The custom response message can be customized to what you would like displayed to the virtual assistant user.
Best Practice: The custom response message should include your preferred contact method, which could be an existing contact form on your website, or simply display your office email and phone number. - Contact Form
With the contact form setting, when the virtual assistant is unable to provide a response to a user's question or input, it will respond with a Communication Opportunities response and ask if the virtual assistant user would like to contact the office.
If the virtual assistant user selects yes, the virtual assistant will list all of the offices for the school. The virtual assistant user will need to select the office they would like to contact.
After the virtual assistant user selects an office, the contact form workflow will request the following from the user:user’s name
email address
phone number (optional)
Student ID (optional)
The option to include any further information
- Custom Response
An email with the conversation transcript will be emailed to the Communication Opportunities Form Contact Email provided in the Virtual Assistant Behavior Settings section of the admin portal.
The Form Submission Success Message can be customized to display to the virtual assistant user once they have completed the contact form.
5. Select Save.
Was this article helpful?
That’s Great!
Thank you for your feedback
Sorry! We couldn't be helpful
Thank you for your feedback
Feedback sent
We appreciate your effort and will try to fix the article